

Sunday, May 22, 2011
Thursday, May 19, 2011
Monday, May 16, 2011
Maggie's recital
Thursday night we went to Maggie’s dance recital. For the first time Alexa was cheering in the audience with us instead of dancing on stage. Maggie gets more and more talented every year.

Is it wrong that I'm jealous of her dress?


How adorable is this:

One of the more unusual performances of the night was a group of students' fathers dancing together as "The Bad Dads." They performed a medley of songs and to my eternal disappointment, Shawn was not among them. Maybe next year. Here they are doing "Thriller."


On pointe:

Her awesome solo:


Flowers for Mom, the announcer:

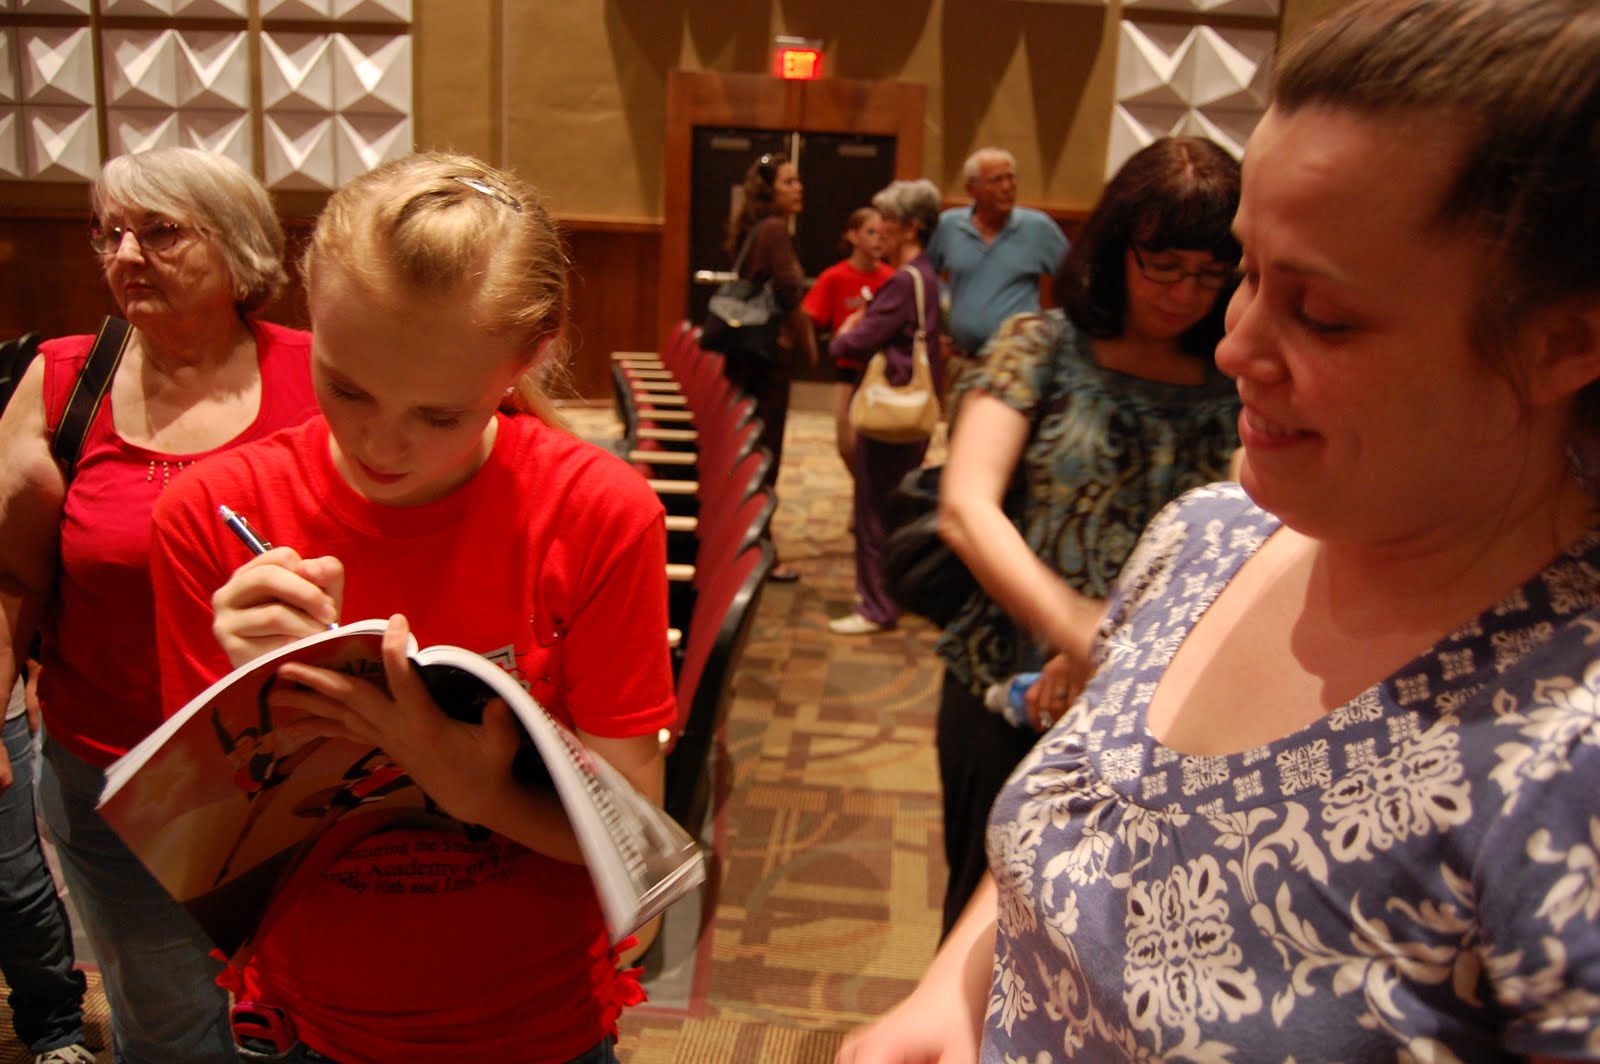
Signing the program (a little tradition):


Is it wrong that I'm jealous of her dress?


How adorable is this:

One of the more unusual performances of the night was a group of students' fathers dancing together as "The Bad Dads." They performed a medley of songs and to my eternal disappointment, Shawn was not among them. Maybe next year. Here they are doing "Thriller."


On pointe:

Her awesome solo:


Flowers for Mom, the announcer:

Signing the program (a little tradition):


Sunday, May 15, 2011

Wednesday, May 11, 2011
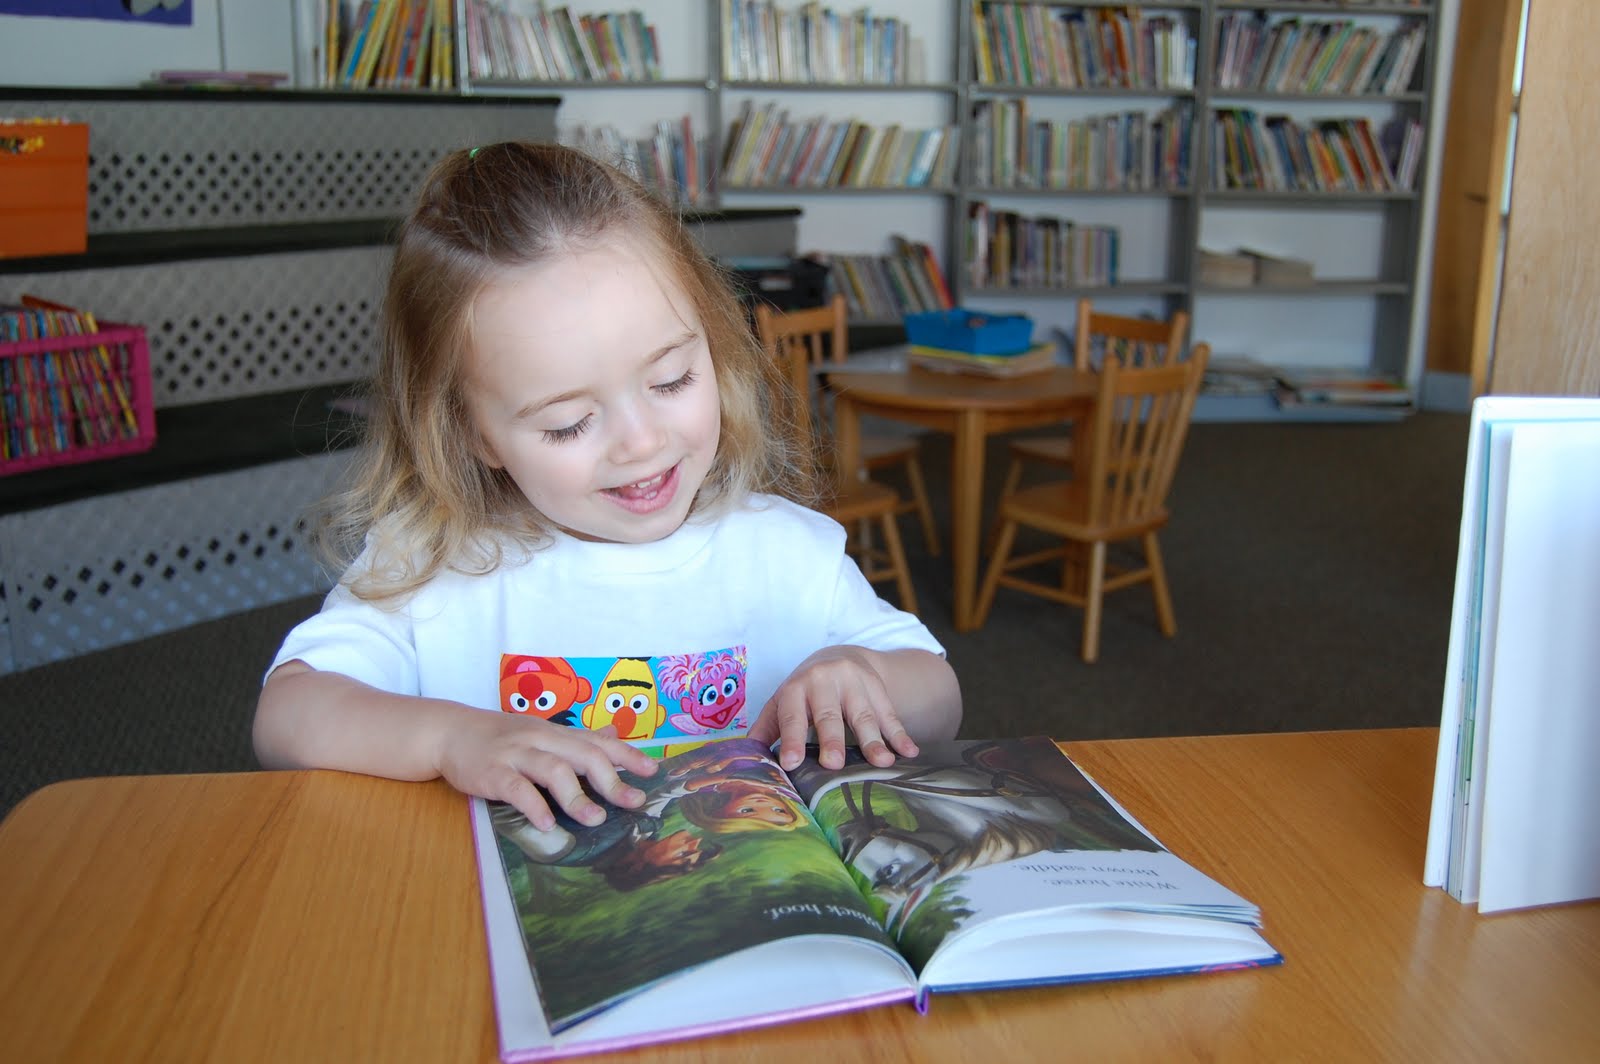
Julia's first trip to the library
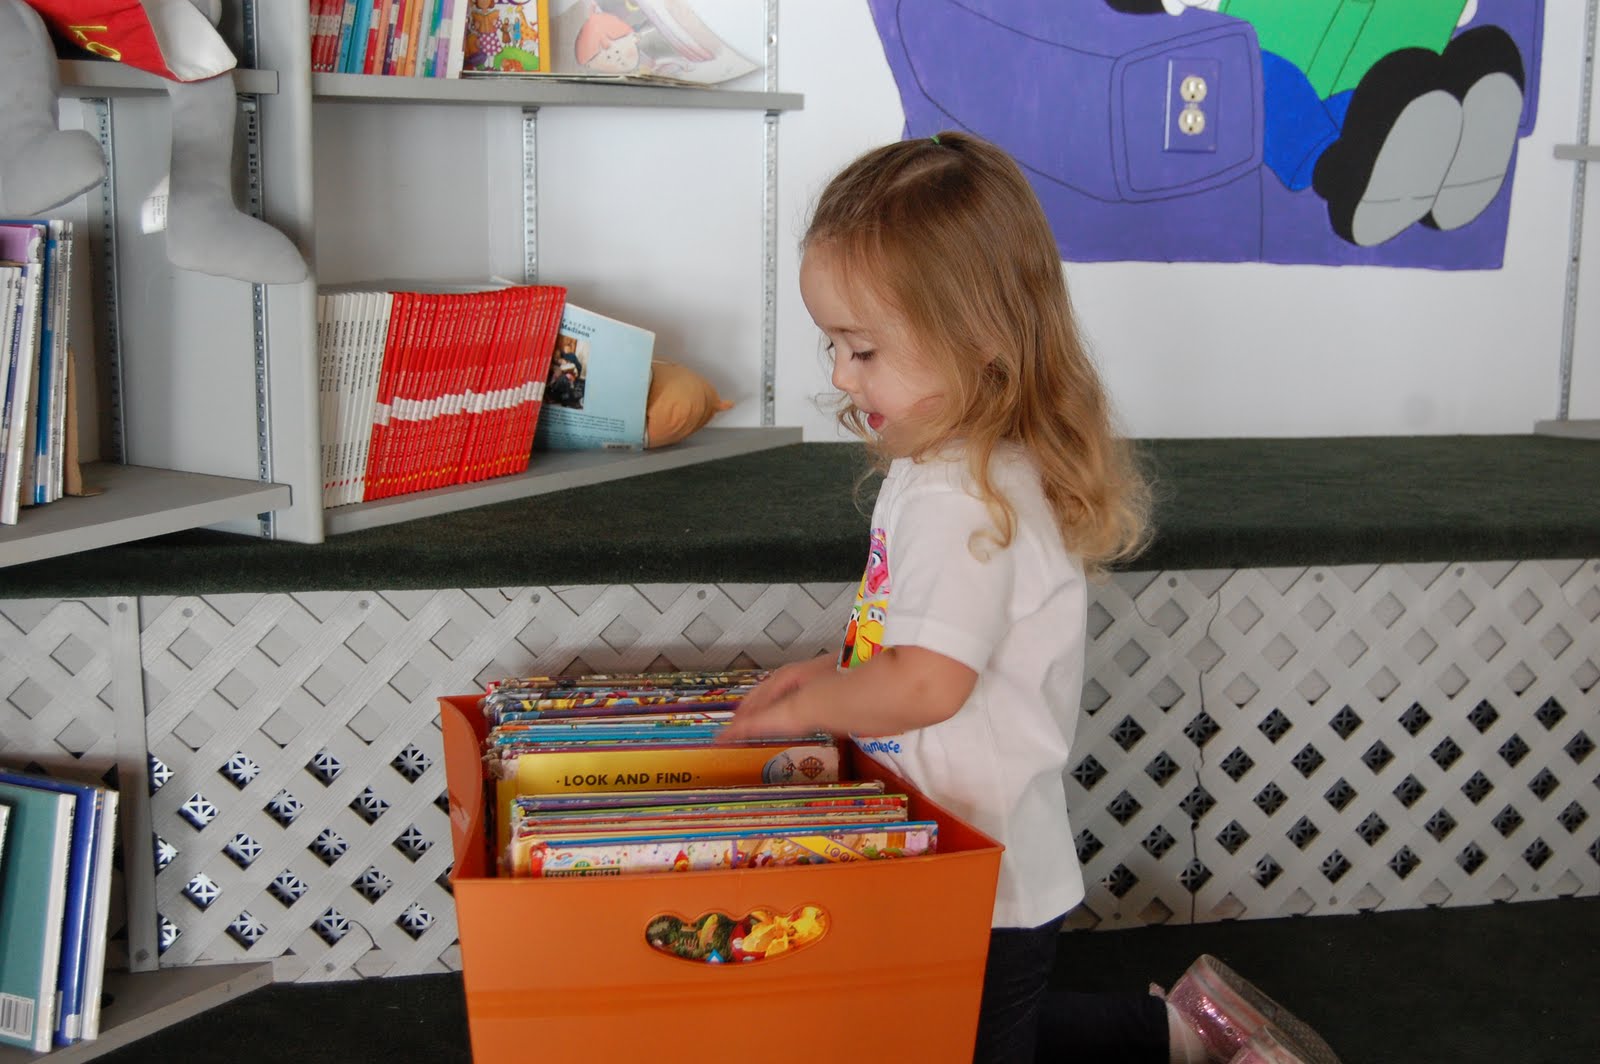
Last Friday, Julia took her first trip to the library, and Mom and Jen and I went with her. It was a very exciting trip for our little pumpkin.


That look is the face a three-year-old makes as her aunt drones on about how much fun she's going to have with that library card.

Mommy applies for Julsie's library card.


Giving her new library card to the librarian.


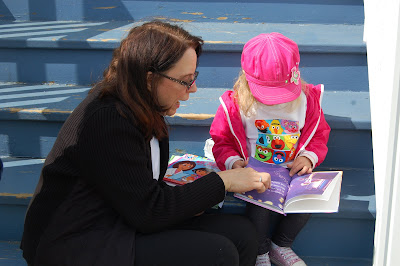
She wanted to sit down on the sidewalk and start reading her books.

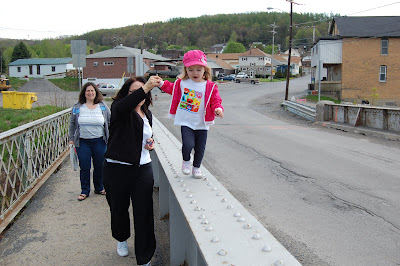
Grandma let her walk on the bridge edge like we did when we were kids. They're tearing it down this summer.

And of course you have to slide off the end.

Friday, May 6, 2011
Crafty Tutorial: DIY notepads
Today was a gorgeous day, which was rather convenient since I was off of work. I went antiquing and took some photos and had some delicious Chinese food. I like to end a day like that with some crafty crafting.

If you know me, you may know that I love to make lists. Then I love to cross things off those lists. Gives me a thrill. So I go through a fair amount of notepads. Most notepads have annoying flowers all over them or something even worse like cats. Blargh. So I took matters into my own hands and made some delightful notepads of my own. You can too.
You will need:
Paper printed with list headings, clever quotes, etc. (I did about 75 sheets for each pad, which worked out nicely. I wouldn't go higher than that.)
A paper cutter of some sort (They're relatively inexpensive at any craft store.)
Bonding compound (Also available at craft stores or online. A bottle this size will last you a lifetime and probably make it into the will.)
A small paintbrush
Small paper clamps (Available at Staples or the like.)
80s music and maybe a snack or a drink

First, print your lists. I did this quick and easy by using Word, turning the paper to landscape orientation, and splitting it into three columns. Then I added fun headers in pleasing colors, which you can't really see since my photo is hideously blue. (I don't want to hear about it, James!)

You could use dramatic or historical quotes about remembering and organizing. (That Marcus Aurelius had a lot of interesting stuff to say.)

Or you could be more on the nose.

Or you could use a fun quote from one of the best television shows ever created, despite the fact that it was cruelly cancelled after only two seasons.

After you print your paper (50 to 75 sheets, I'd say), you need to cut it. This is the most tedious part of the process, made considerably less so if your parents got you a super awesome paper cutter for Christmas. You can also use the scrapbooking paper slicers sold at most craft stores, but you can't cut as many pages at a time with those. (This is where the 80s music and snack come in handy.)

When you've finished you'll have a nice, tidy pile of pages ready to be bound together. I trimmed my Natalie/Jeremy pile shorter because I want to carry that one in my purse.

Then you place a small clamp on either side of the pad, about a quarter of an inch from the top.
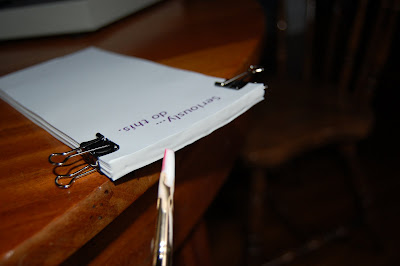
Now this part is fun. Slather the top with a generous amount of bonding compound. On one of the pads I added a cardboard backing with a bit of magnet so I can hang it on my fridge. I made sure to put a lot of compound on that one.

Also, should you happen to accidentally send your paintbrush hurtling through the air, splattering bonding compound on your shirt, pants, and floor, fear not. The compound cleans up very nicely off of cotton, corduroy, and hardwood floors.
Not that I did that. Twice.

Let them dry while you stand back to admire your handiwork.

Start making a list of stuff for your next project. Or grocery trip. I am totally out of milk.


Let them dry while you stand back to admire your handiwork.

Start making a list of stuff for your next project. Or grocery trip. I am totally out of milk.

Thursday, May 5, 2011
Felices Cinco de Mayo
In celebration of the Mexican defeat of the French forces at the Battle of the Pueblo, I went out for lunch with friends and stuffed my face with chicken flautas and burritos. As I struggle to stay out of a food coma, please enjoy this fascinating video of Jello bouncing in slow motion. It really is gorgeous.
Subscribe to:
Posts (Atom)
